Editor’s Note: This is mirrored from RayWenderlich.com.
Mobile developers often work with REST APIs or other networking protocols in their applications — whether it’s to retrieve data, communicate with other devices, or something else. SwiftNIO, written by Apple, is a low-level networking framework that makes writing Swift servers even easier than before, empowering Swift developers to leverage their skills on the server side.
In this tutorial, you’ll:
- Learn about what purpose SwiftNIO serves and why Apple made and open-sourced it.
- Practice working within a SwiftNIO framework by creating a Quote Of The Day Swift TCP server that you’ll connect to using a provided iOS app.
To start, you’ll need a Mac running at least macOS 10.12 Sierra with Xcode 9.3 or later. You’ll also use the command line, so be sure to open up Terminal, and check the command line utility for Swift is installed. You can check this by entering swift --version. It must be version 4.1 or later.
Note: The command line tool you need should be installed with Xcode. If you don’t successfully see your version of Swift when running the swift --version command, go here for more information.
Getting Started
First, it’s helpful to understand exactly how the SwiftNIO framework differs from other Swift frameworks.
Swift-on-the-Server Status Quo
If you’re a Swift developer, it’s very likely you’ve focused only on mobile applications. This makes servers in the cloud seem like voodoo magic — or at least a little confusing at first.
 I don't get you, cloud.
Thankfully, if you know Swift, frameworks like Kitura and Vapor make writing a web service easier.
However, these frameworks operate as a convenient layer on top of some sophisticated and low-level socket networking code, much of which interoperates with C. In the case of Kitura, once Swift became open sourced and available for Linux, IBM wrote BlueSocket to serve as its low-level socket networking layer.
How SwiftNIO Differs
 You complete me, NIO.
BlueSocket is great, but it doesn’t fill in all the blanks when it comes to server-side Swift. For example, Kitura not only included the work of BlueSocket, but it also implemented the entire HTTP stack under the hood, so incoming communication would be routed the right way. Now, Apple has raised the bar, introducing SwiftNIO and essentially handling socket communication and HTTP for us.
Note: SwiftNIO has been written as a port of Netty, a Java low-level networking framework, but in Swift.
 This is a diagram taken from Norman Maurer's talk on SwiftNIO, given March 1, 2018, in Tokyo.
This tutorial won’t go into great detail about every piece of the above diagram but, as you work your way through, each piece should begin to make sense. However, it’s worth explaining what an EventLoopGroup is and, thus, what a MultiThreadedEventLoopGroup accomplishes with this class.
EventLoopGroup and MultiThreadedEventLoopGroup
An EventLoop runs in a loop, looking for new tasks to handle that have come in from a new client via a network connection. Think of an EventLoop like a serial DispatchQueue, which allows you to delegate blocks of code for execution at a time of your choosing. As multiple EventLoop instances cycle through your thread, they look for tasks to execute.
 After an EventLoop searches for tasks and schedules them, it executes them one by one.
When you put these EventLoop instances into an EventLoopGroup, the handler looks more like a concurrent DispatchQueue. You can also think of this like a thread pool. This means you can submit multiple tasks to the group and, depending on the time it takes to complete each task, the order of completed tasks may not be what you initially submitted to the group.
This is where the MultiThreadedEventLoopGroup class comes in. This specifies the EventLoopGroup that’s created will tie each group to a specific thread, further streamlining your asynchronous operations that come in. Think of it like an upgraded EventLoopGroup.
 Each task gets taken care of in its own discrete group.
Synchronous/Asynchronous Example
Let’s say you’re at a food truck operated by one person. The person at the front of the line orders his food. He pays; he waits. He gets his food. The next person repeats this same process. The food truck delivers everyone’s order correctly, but it’s very slow. If you’re at the end of the line, you are pretty unhappy.
This is an example of a synchronous operation — something that blocks all other work until the current request is completed. A connection to a PostgreSQL database is another example.
Now, imagine the same food truck has an order-taker and two chefs. The person at the front of the line orders his food. He pays; he waits. But wait! The second person can now order his food without having to wait for the operator to complete the order for the first person. And the first person only has to wait for one other person. Here, the chefs are the EventLoopGroups making the food.
This is an example of a set of asynchronous operations. Ultimately, you’re waiting on the available resources of the service. But this new setup can handle multiple requests at the same time. The end user will see an increase in performance.
Another example of this is… well, SwiftNIO!
Setting Up Quote of the Day
To kick things off, download the materials for this tutorial; you can find a link at the top or bottom of this tutorial. You’ll be implementing a server called Quote of the Day — believe it or not, Quote of the Day (QOTD) is a real internet standard (RFC). You can read the protocol spec here.
The flow of information from the server works as follows:
- Open a TCP connection upon request.
- Write a random quote to the response.
- Send the response.
- Close the connection.
If you take a look at the RFC for Quote of the Day, you’ll notice two key things that you’ll do differently in this tutorial:
- You’ll use port 1717 instead of 17. Port 17 is locked down, requiring root permissions on macOS.
- You’ll only create a TCP/IP connection, not a UDP connection. As of this writing, UDP is still a WIP on SwiftNIO (so many acronyms!).
For this tutorial, you’ll also use an iOS client to check that the server works properly. This iOS client uses BlueSocket — you won’t be making any changes to the iOS app, but feel free to look through the source code on your own.
Note: SwiftNIO also has the ability to act as a client for network communication and not just as a server. This means you could, in theory, write an iOS client using SwiftNIO, too.
Running the iOS Client
In the starter project, go to the Mobile/ directory and open up the swift-nio-qotd-client.xcodeproj file. In Xcode, run this on a simulator of your choosing. However, don’t run this on a device, as you won’t easily be able to connect with a local server connection on your machine from your device.
When the simulator boots up, tap the refresh icon in the upper right-hand corner of the screen. You should see the following error underneath the Quote heading:
 Fear not! This is normal.
Keep this simulator open, but minimize it on your machine. You’ll come back to this later when you get your server up and running.
Setting Up Your Server Project
Open Terminal and navigate to the root directory of the starter project. Enter the following commands:
cd Server/
swift build
swift package generate-xcodeproj
open QOTD-NIO.xcodeproj
Note: If you have MacPorts installed on your machine you may have to use the following in place of swift build above: rm -rf .build && unset PKG_CONFIG_PATH && swift build
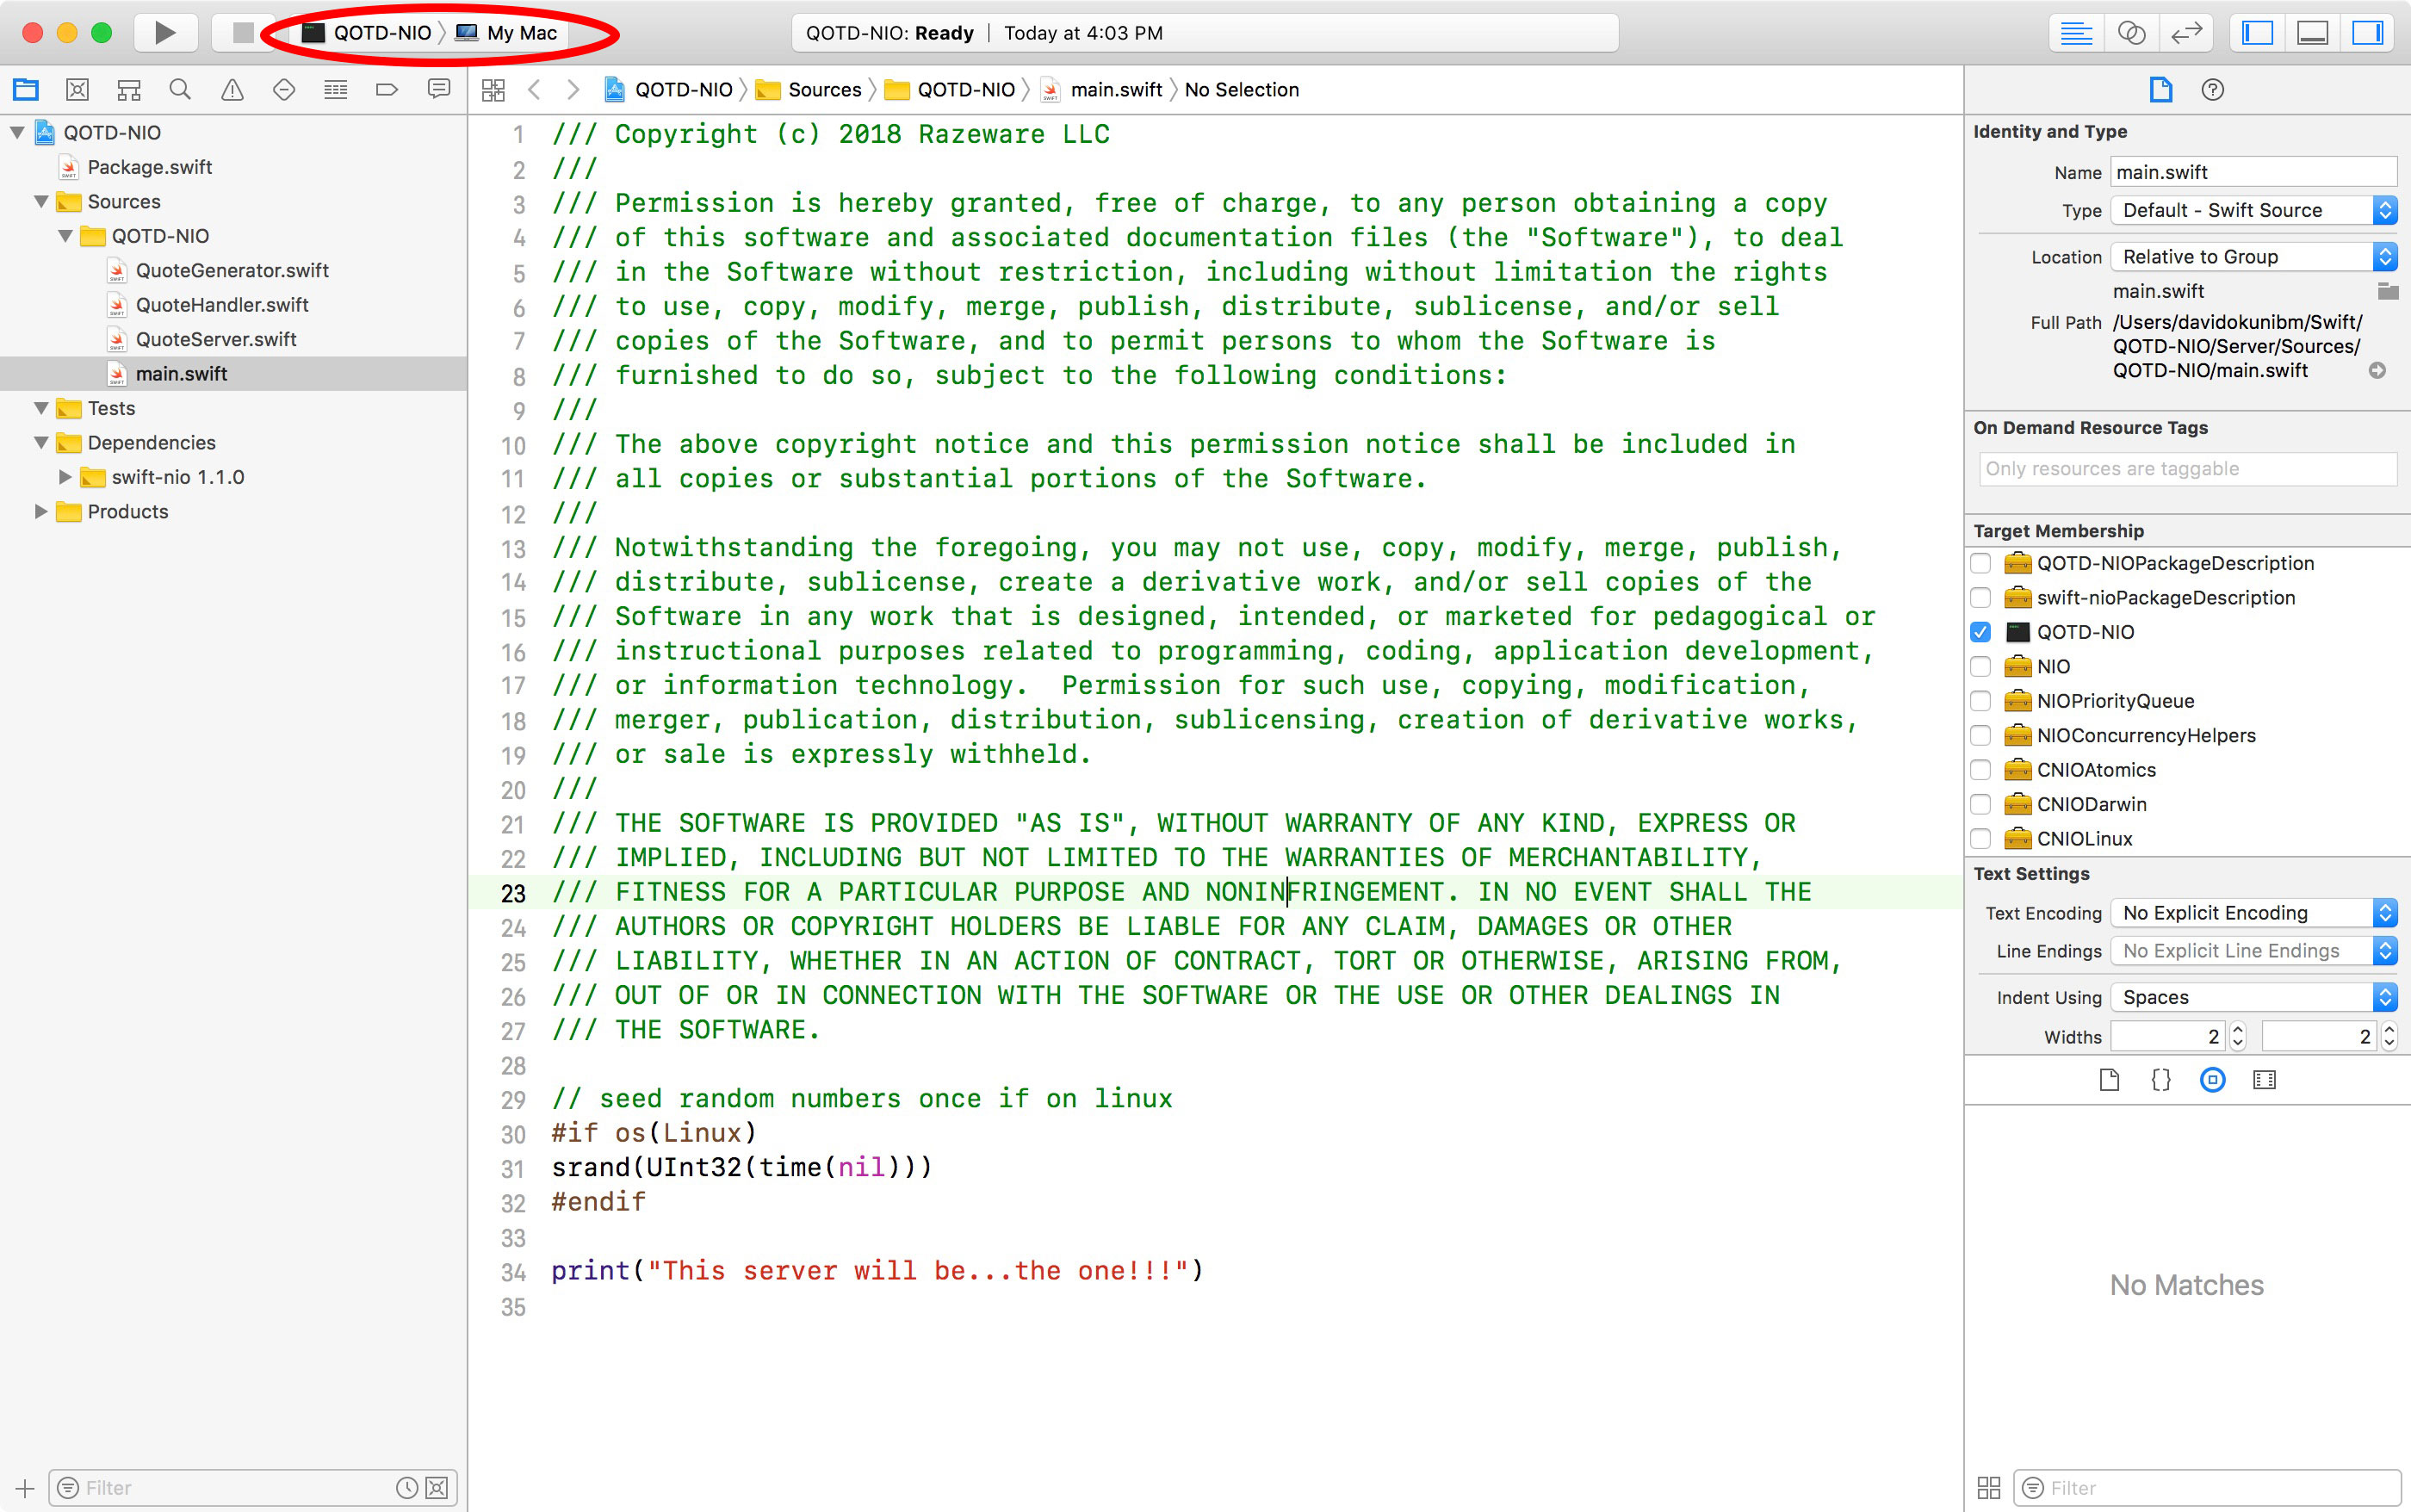
Once Xcode opens, go to the top of the window and, in the scheme selector, select QOTD-NIO and My Mac like so:
Build and run the project. At the bottom of the debugger, you should see a single printed message: This server will be… the one!!! If you see this, you’re ready to dive in.
Bootstrapping a Server
In Xcode, open QuoteServer.swift. This is where you’re going to set up your server to bind to a port.
Replace the code in this file with the following:
import Foundation
// 1
import NIO

enum QOTDError: Error {
  case invalidHost
  case invalidPort
}

public class QuoteServer {
  // 2
  private let group = MultiThreadedEventLoopGroup(numThreads: System.coreCount)
  private var host: String?
  private var port: Int?

  init(host: String, port: Int) {
    // 3
    self.host = host
    self.port = port
  }
}
What this code is doing:
- You import the NIO module in this class — you won’t get far without it!
- You specify a
MultiThreadedEventLoopGroupwhen you run your server, as you learned earlier. You can run as many threads as your system will allow you here — use theSystemAPI for this. - You set the host and port the server will listen on. You could perform validation logic on your host and port here, if needed.
Now, you’ll add a private variable for an object that you need called a ServerBootstrap. Think of this class as a helper class that sets up a server for you to serve information that you delegate. Inside your class declaration, but below init(host:port:), add this:
private var serverBootstrap: ServerBootstrap {
  // 1
  return ServerBootstrap(group: group)
    .serverChannelOption(ChannelOptions.backlog, value: 256)
    // 2
    .serverChannelOption(ChannelOptions.socket(SocketOptionLevel(SOL_SOCKET), SO_REUSEADDR), value: 1)
    .childChannelInitializer { channel in
      // 3
      channel.pipeline.add(handler: BackPressureHandler()).then { v in
        // 4
        channel.pipeline.add(handler: QuoteHandler())
      }
    }
    // 5
    .childChannelOption(ChannelOptions.socket(IPPROTO_TCP, TCP_NODELAY), value: 1)
    .childChannelOption(ChannelOptions.socket(SocketOptionLevel(SOL_SOCKET), SO_REUSEADDR), value: 1)
    .childChannelOption(ChannelOptions.maxMessagesPerRead, value: 16)
    .childChannelOption(ChannelOptions.recvAllocator, value: AdaptiveRecvByteBufferAllocator())
}
Looking at the code above:
- You assign the bootstrap a
MultiThreadedEventLoopGroup— it needs to know which run loops to utilize on your machine. - You specify you want your channel — or your communication pipe — to connect with a networking socket available on your machine and to reuse the local address on your machine (REUSEADDR).
- Once communications come through the bootstrap, the channels that are the children of this bootstrap also need work to do — the
BackPressureHandler()basically ensures that reading a new request only happens as fast as the server is writing a response. - You then specify that you want to write your own custom class to handle incoming communication from the outside world — you’ll work on this class shortly.
- Finally, you specify that your server will operate on TCP and that you won’t delay the sending of any packets of information as a response.
Note: In the code block above, the explanation covers only the options that directly affect this tutorial. However, to learn more about the others, refer to the official Apple SwiftNIO Docs
Build and run your project. You should see the same result as before. You still have a few more steps to complete your working QOTD server.
Handling Incoming Requests With ChannelInboundHandler
In Xcode, open QuoteHandler.swift. Notice you already have a stubbed class that conforms to ChannelInboundHandler. This protocol gives you access to a series of methods that handle communication with the associated ServerBootstrap you set up. You’ll implement two of these shortly.
Notice the following two lines are already in the class:
public typealias InboundIn = ByteBuffer
public typealias OutboundOut = ByteBuffer
These are convenience typealiases that are required to declare to conform to ChannelInboundHandler so you can specify what kind of data comes into and out of your handler. You’re using ByteBuffer, which stores contiguously allocated raw bytes of data. This is straight-forward to work with when you’re writing a String to your response, as you’ll soon see.
Inside your class and underneath your typealias declarations, add the following:
// 1
func channelRegistered(ctx: ChannelHandlerContext) {
  print("Incoming connection registered - sending Quote of the Day")
  // 2
  let quote = QuoteGenerator.get()
  // 3
  var buffer = ctx.channel.allocator.buffer(capacity: quote.utf8.count)
  // 4
  buffer.write(string: quote)
  print("Sending quote")
  // 5
  ctx.writeAndFlush(self.wrapOutboundOut(buffer)).whenComplete {
    print("Closing connection")
    // 6
    ctx.close(promise: nil)
  }
}

// 7
public func errorCaught(ctx: ChannelHandlerContext, error: Error) {
  print("error: ", error)
  ctx.close(promise: nil)
}
Let’s take a look at what you’ve just added:
channelRegisteredis one of the methods inChannelInboundHandler. Since you want to send a quote as a response when a connection is a requested, this method is quite convenient.- You get a random quote from
QuoteGenerator, a class that’s been provided for you that selects a quote from an array of them. Feel free to add any others you like. - You get a handle for your response byte buffer from the incoming channel (communication pipe).
- You write your quote, which is a
string, to the response buffer. - Now that you’ve written to your buffer, you need to write the buffer to the channel, and then flush the communication pipe. Whatever you flush down the pipe is going to come out the other end, but this doesn’t guarantee the next line of code you write will wait for that to finish. This is where
.whenCompletecomes in. - Inside your handler for
.whenComplete, you’re establishing what you want to do when the previous operation is complete. In this case, to follow the requirements of the QOTD protocol, you close the channel connection. - You also implement another method in
ChannelInboundHandlerfor handling — you guessed it — errors! Notice you actually get a handy-dandy, SwiftyErrortype instead of something in C!
From this example, you can see that, anytime you want to handle incoming information from a client, you need to write a handler that conforms to ChannelInboundHandler to do so. From here, the possibilities are endless.
Polishing Off Your Server Functionality
In Xcode, go back to QuoteServer.swift and, in between your init(host:port:) method and your serverBootstrap var, add the following:
// 1
func run() throws {
  // 2
  guard let host = host else {
    throw QOTDError.invalidHost
  }
  guard let port = port else {
    throw QOTDError.invalidPort
  }
  do {
    // 3
    let channel = try serverBootstrap.bind(host: host, port: port).wait()
    print("\(channel.localAddress!) is now open")
    try channel.closeFuture.wait()
  } catch let error {
    throw error
  }
}
Breaking down what you’ve done:
- You don’t want to put this code inside
init(host:port:)method because it’s not ideal to let code that runs “forever” reside in a constructor. This makes it easy to debug issues, too. - You check for port and host using two guard statements.
- With values for host and port ensured, you bind the
ServerBootstrapinstance you create in this class to a host and port that you specify. Callingwait()at the end of this means you’re waiting for the “promise” to be fulfilled. This means you’re waiting for your server to start.
Poetic as it sounds, you can’t run forever; you need a graceful way to shut down your server. In the same class, after run(), add the following:
func shutdown() {
  do {
    // 1
    try group.syncShutdownGracefully()
  } catch let error {
    print("Could not shutdown gracefully - forcing exit (\(error.localizedDescription))")
    // 2
    exit(0)
  }
  print("Server closed")
}
Here’s what you’ve just added:
- You try the friendly API for the
MultiThreadedEventLoopGroupfor shutting down without causing any issues. This means it’ll wrap up any last tasks it might have to execute, and then it shuts itself down. - Of course, if that just won’t fly, you hit the power button yourself and shut down the server “un-gracefully.”
Running Your Server
You’ve got yourself a server! Only one more change before we run it.
In Xcode, open main.swift. Delete the lone print statement at the bottom and replace it with the following:
// 1
let server = QuoteServer(host: "localhost", port: 1717)
do {
  // 2
  try server.run()
} catch let error {
  print("Error: \(error.localizedDescription)")
  // 3
  server.shutdown()
}
And here’s what this code does:
- You create an instance of your
server, passing host and port. - You run your server. Note, if this call works successfully, which it should, then the application will run infinitely until you shut it down or until something breaks.
- You check for any errors and, if you detect any, you make use of your handy-dandy
shutdown()method.
Note: Remember you might not want to start your server from inside the constructor? The above code is a great example of this. A separate run() method allows us to make changes to other properties of your server before running it.
Build and run your project. You should see a line in the debugger about your server being open on port 1717.
Pull your iOS client back up. Build and run it if you stopped the project. Tap the refresh button and…
 Voilà! A quote.
Your Swift TCP server is running! Check the logs on your Xcode project running your debugger and you should see the following output:
Incoming connection registered - sending Quote of the Day
Sending quote
Closing connection
Where to Go From Here?
You can download the final project using the link at the top or bottom of this tutorial. I encourage you to build on this and play with the available APIs to see what else you can do.
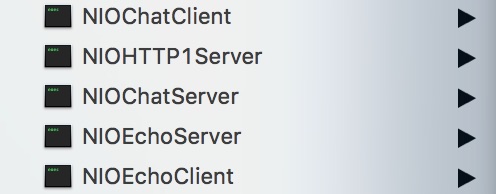
Additionally, if you clone the SwiftNIO project from source, there are a couple of demos you can try right inside the project itself. If you open Xcode, you can see the executables listed in the scheme selector:
For more information on SwiftNIO from Apple itself, check out the full Apple SwiftNIO Docs on Apple’s GitHub.
It’s an exciting time for Swift as it stretches past mobile development and into the rest of the programming world. Let us know what Swift projects you’re working on, your thoughts on the future of Swift, or leave us your favorite Quote of the Day in the forum discussion below!